Showing posts with label Snacks. Show all posts

Friday, October 21, 2016

Ribbon Pakkoda/Pakkavada/Ola Pakkoda

I'm very much drawn towards snacks during tea time and my hubby as well, so there will be a box of snacks always at home. I want to add this long time back but couldn't due to unknown reasons :P Today made some clicks and finally here comes another crispy tea time snack-Ribbon pakkoda/Pakkavada which is my mom's recipe.

Ingredients :

Raw rice flour 1 cup
Besan flour 1 cup
Chilly Powder 2 tspoon
Pepper Powder 2 tspoon
Asafoetida Powder 1/2 tspoon
Salt to taste
Oil to deep fry
Water as needed

Preparation:

(1) This step is to prepare raw rice flour. If you have store bought flour, use it directly and proceed to step:3 else :
Soak around 1/2 cup of raw rice in water for about 2 hours( i soaked 2 cups of raw rice as in below picture). Drain the water completely (I used to drain the excess water in rice by spreading it over a newspaper/cloth as my mom used to do).
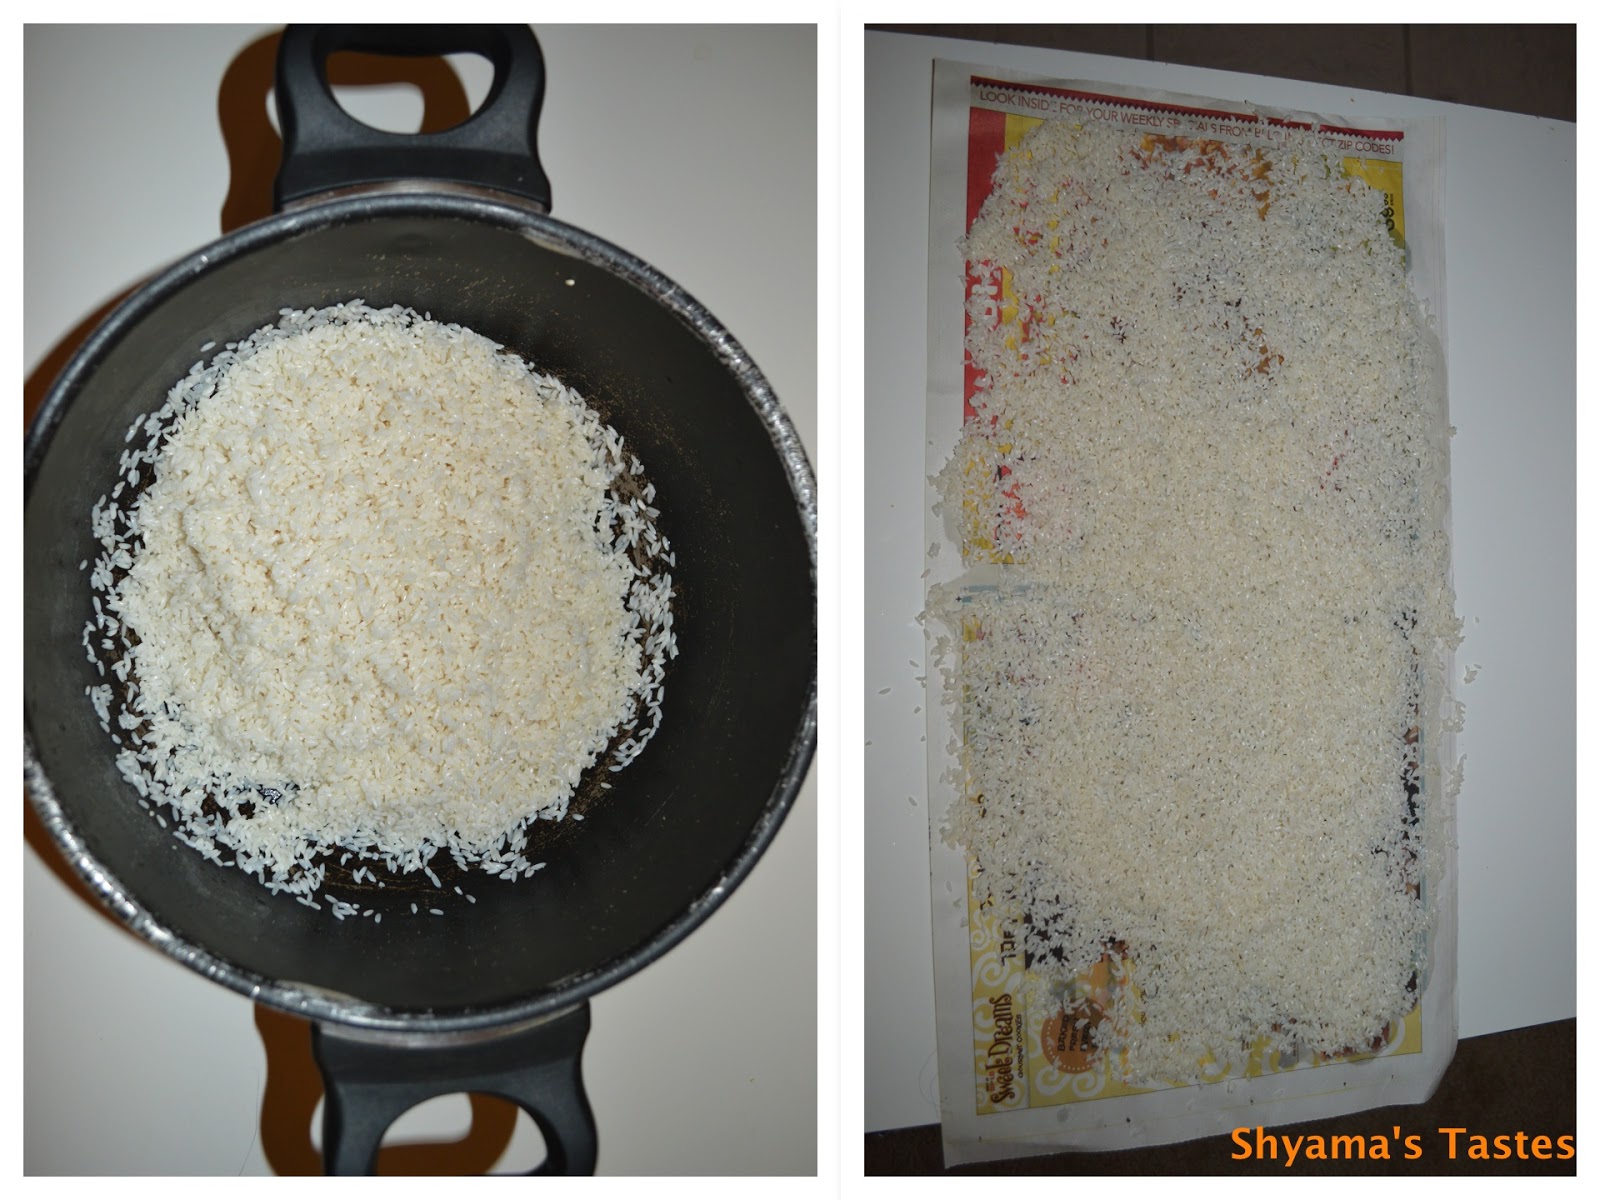
(2) Grind it in a mixer and make a fine powder. Rice flour is now ready.

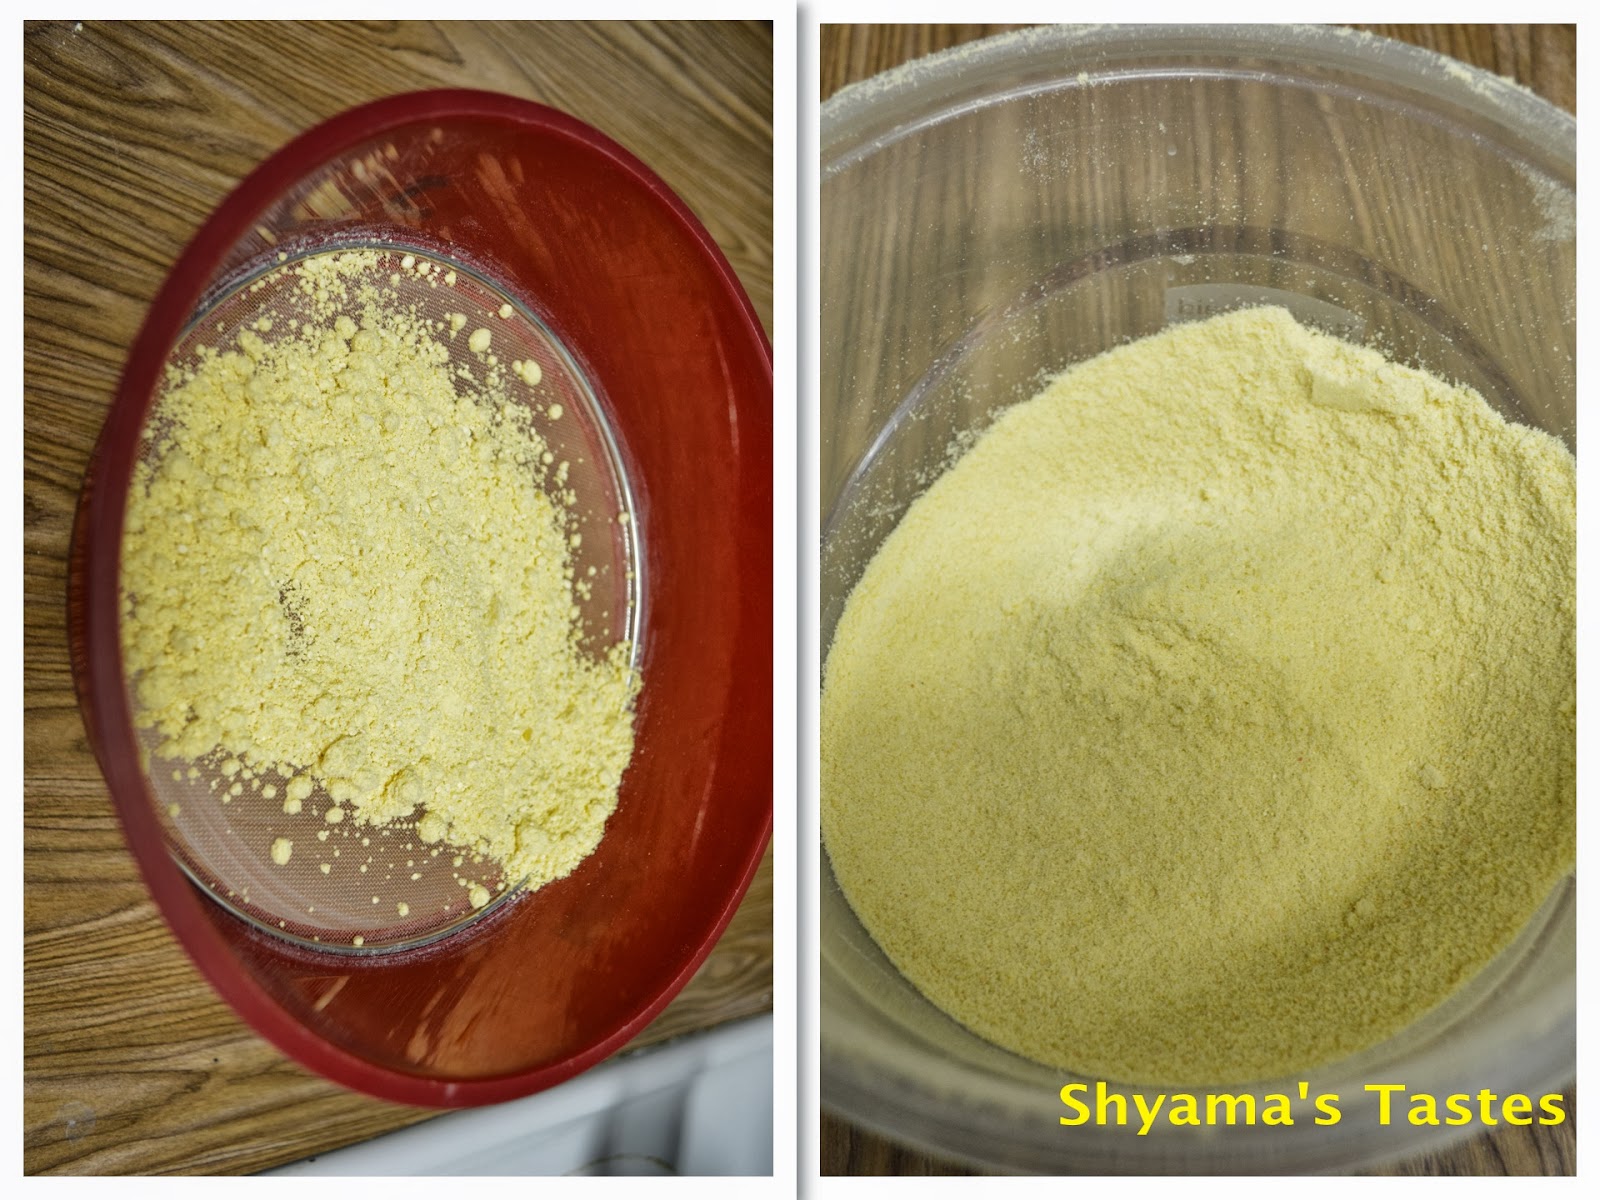
(3) Take ground raw rice flour in a vessel. Add besan flour and needed salt to it. Mix well. To this add chilly powder, pepper powder and asafoetida powder. Sprinkle water little by little and make a smooth,stiff and non sticky dough.

(4) You need a ladle to make pakkoda. Select the appropriate disc as shown in below picture.
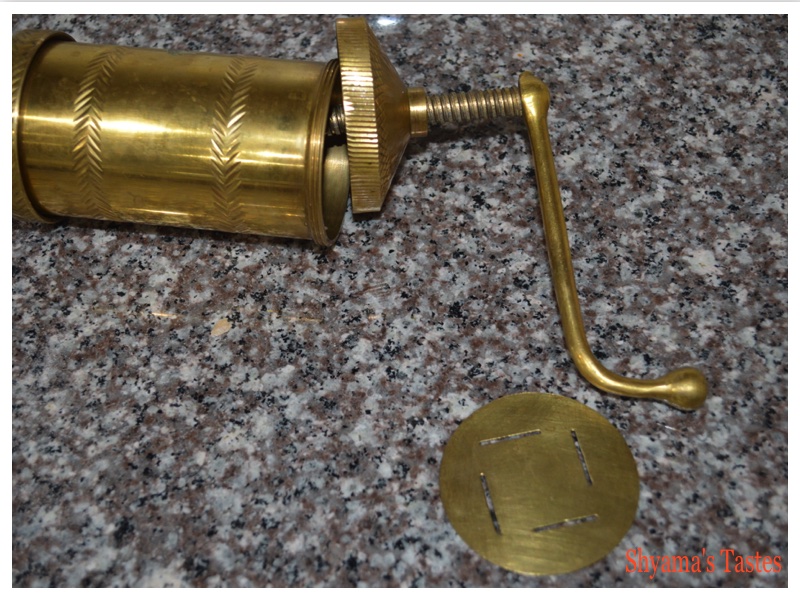
(5) Mean while heat oil in a bottomed pan. Fill the pakkoda maker with a handful of dough. Rotate the handle of the maker using hand by holding it above the oil. Rotate in clockwise direction and make circles without overlapping. Deep fry in oil. Flip it over once the air bubbles on top of oil reduces. Pakkoda will be ready once the shhhhhh sound reduces completely. 

(5) Drain it in tissue paper and store in an airtight container.


Enjoy with your hot tea/coffee...

Tips:

  • Raw rice flour should be equal to besan flour.
  • If you want karasev more crispy and red in color increase the amount of besan than raw rice. If you like it to be whitish add more raw rice. 
  • The dough should be smooth. Add water little by little while mixing.
  • If you find the dough little watery add more besan flour.
  • While frying, air bubbles on top of oil reduces which indicates pakkoda is done.

Friday, June 19, 2015

Onion Pakkoda/Ulli Pakkoda/Crispy Onion Fritters

Onion pakkoda is a tasty tea time snack. I already added Onion Vada/Ulli Vada here. This too follows the almost same recipe with slight variations.

Ingredients:

Onion(big in size) 2
Green chilly 3
Besan/Kadalamavu 1/2 cup
Turmeric Powder 2 pinch
Chilly Powder 1/2 tspoon
Asafoetida powder 2 pinch
Curry leaves 2 sprig
Saltto taste
Oil to deep fry
Hot Oil(optional) 2 tspoon
Ginger(optional) 1 inch piece
Rice powder 1 tbl spoon

Preparation:

(1) Slice onion roughly and make lengthwise pieces. Chop ginger and green chillies finely. Ginger is not added here.

(2) Now add onion slices, green chilly, ginger, turmeric powder, chilly powder, rice powder, curry leaves(not added here due to shortage), salt and hot oil. Mix well. After that add besan. Mix again. The mixture will be moisturized due to the presence of its water(you can even wait for 5 minutes to see how moisturized it will be). Now sprinkle little water say 2 tspoons and mix well. Make a rough/hard mixture. Don't add more water which makes pakkoda less crispy.

(3) Meanwhile heat oil in a bottomed pan. Sprinkle the mixture in oil using hand or spoon. Cook in low to medium flame. Let it deep fry till the color changes brownish and crispy. 
Onion pakkodas will be now ready. Drain in kitchen tissue.

Enjoy hot pakkodas with tea/coffee….

Tips:

  • Adding hot oil while mixing helps to turn pakkoda crispy.
  • Be careful while adding water to the mixture. Less water will give crispy pakkodas.

Saturday, August 2, 2014

Vegetable Cutlet

This will be a perfect snack for your kid. I'm trying for the first time and it came out good...

Ingredients:

Potato 2
Carrot,green peas 1 cup
Big onion 1(small)
Green chilly 3
Chilly Powder 1/2 tspoon
Turmeric Powder 1/4 tspoon
Garam Masala 1 tspoon
Salt to taste
Maida 1/4 cup
Bread crumbs 1 cup
Oilto deep fry

Preparation:


(1) Chop vegetables into small cube shapes. I used potato, peas and carrot. Chop onion and green chillies into thin pieces.

(2) Pressure cook potato for 2 whistles and mash it well. Steam cook vegetables till it turns soft : For that keep vegetables in a steel bowl and close it with a lid. Keep it inside a pressure cooker . Above the lid you can keep potatoes. Pressure cook everything for 2 whistles(You can also pressure cook/cook vegetables with water. But extract water out of it using muslin cloth or cotton cloth, should not retain water in it). Once the vegetables are cooled down slightly mash it using hand. Keep it aside.

(3) Heat 2 tspoon of oil in a pan. Add chopped onion and green chilly with little salt. Saute till onion turns brownish. Now add chilly powder, turmeric powder and garam masala. Saute till raw smell leaves.

(4) Add cooked veggies and mashed potato to it with little salt. Mix well. Now your masala is  ready. Allow it to cool. Once it is cooled add 2 tbl spoon of bread crumbs to this and mix well using hand. While mixing break if there are any lumps. Try to make a smooth mixture so that you can easily shape it.

(5) Mean while heat oil in a tawa to deep fry. Once masala is cooled down divide it into equal balls. Slightly press it using the hand and make circle shapes(you can make your desired shape).

(6) Also mix maida with water and make a loose batter (i used besan flour instead of maida). Dip  one piece into maida mix and immediately coat it with bread crumbs.

(7) Drop that piece to oil. Continue with other pieces too. Fry till it is cooked.

Vegetable cutlet is now ready. Enjoy with tomato ketchup…For other evening Snacks/Sweets CLICK HERE

Tips:


  • You can use other vegetables like beans and beet root. 
  • It is better to steam cook the vegetables.
  • For non-veg lovers, you can beat 2 eggs and use it as the first coating instead of maida.
  • I used home made bread crumbs. You can get it from store too.

Friday, August 1, 2014

Home Made Bread Crumbs

Bread crumb is easy to prepare at home. I used it for onion rings and cutlet.

Ingredients:

Bread 4 to 5 slices

Preparation:

(1) Chop the sides of bread and place it in a baking pan.

(2) Preheat oven to 365 degree F. Bake it for 10 minutes. Allow it to cool.

(3) Break the baked bread into pieces using hand. Grind it in a mixer without adding drop of water. Make a very smooth powder like that of rava. Your bread crumbs is now ready...

Another Method:

Heat dosa tawa. Remove the sides of bread and heat it by placing over hot tawa. Flip in between. Continue till you get brown color. Cool and grind it in mixer
Have it for the preparation of snacks liek onion rings, cutlet…

Tips:

  • You can use any bread. I used wheat bread.
  • Store bread crumbs in airtight container or refrigerator for long term use.

Monday, February 3, 2014

Elayappam/Ela Ada


Elayappam is a popular snack in my family. For me elayappam comes with many fond memories. My grandma, mom and her sisters used to gather in grandma's kitchen, sit together and do the process of spreading appam to ela. We liittle ones hardly join them for watching and yeah we were busy in playing right. Ohhhh i miss those days and my dear ones. Ok enough of my nostalgic momemts right? :) .

Coming back, we were in an indian store and my hubby noticed frozen ela ada/elayappam there. He wants to buy it. I always try to avoid frozen foods and so promised to do it at home with our traditional recipe. So this is for my dear hubby. The taste was yummy and got thumbs up from him and our friends. Double happy :) .Here comes the recipe for you all. Happy cooking .

Preparation Time:30 minutes
Cooking Time:20 minutes
Serves:3
Ingredients:

Raw rice 1 cup
Jaggery 2&1/2 cup
Grated Coconut 1&1/4 cup
Water 1/4 cup(appx)
Banana leaf as needed

Preparation:

(1) Soak raw rice in water for about 15 minutes. Drain the excess water and spread rice over a newspaper so that excess water will be drained off. Grind raw rice in a mixer and make a very fine powder. Sieve it to make sure it is finely powdered. Mean while mash jaggery too into fine powder

(2) Now take 3/4 cup of jaggery in a bowl and add 2 tspoon of water to it. Mix well using hand to ensure jaggery is finely powdered. To this add rice powder and mix well using hand.

(3) Combine jaggery and rice powder. Now you have to make it a thick dough. Sprinkle water little by little and mix well using hand ( Don't add more water. The dough should not be loose or too tight.). Make a medium thick dough.

(4) Now heat the banana leaves over the flame of stove and keep it aside. Take one leaf and add around two tspoon of dough to the centre of leaf (adjust the quantity depending on the size of leaf) Spread it using the fingers and make a circular shape (refer the picture). Spread the dough so lightly so that the leaf should be transparent.

(5) Above that sprinkle around 2 tspoon of coconut and jaggery one above the other as shown in the picture (you can increase or decrease the amount of jaggery/coconut as per your taste).

(6) Fold over the leaf. Now seal the edges. For that first fold the two edges and finally cover it with the third fold. Repeat it with other leaves. I made 8 such packs.

(7) Steam it using a steamer. I used idly cooker to cook. It will be ready in some 20 to 30 minutes.  (When you open the leaf one part of dough will be stitched to other half. This is the correct stage. If you add more water while mixing it will be seen as squishy)
Your elayappam/ela ada is now ready.

Tips and variations:


  • You can also add boiled green gram/payaru with this. Sprinkle 2 tspoon each as the third layer over the coconut.
  • Be careful while adding water. Adding more water will make appam squishy.

Wednesday, October 9, 2013

Mysore Pak-Soft


Mysore pak is one of my favorite sweet. Here in US we can't get it from any bakery. Last month one of our friend brought this from India. That was amazing and i wish to taste it again. Got some tips from my sweet grandma, watched vahchef's video and finally prepared jangris and mysore pak. But i couldn't agree with the taste of jangri thats why not posting that recipe. Regarding mysore pak, it came out too good. I'm very much satisfied with the taste and texture. 

So you too can try. All you need is little bit concentration. 


Ingredients:

Besan flour/Kadalamavu 1 cup
Ghee(melted) 3/4 cup for mixing+1/4 for stirring

For Sugar Syrup:

Sugar 3/4 cup
Water1/4 cup

Preparation:

(1) Heat a pan and add 1/2 tspoon of ghee. To this add besan flour and saute it. In medium heat stir for around 5 minutes so that its raw smell goes off and a nice flavor emanates.

(2) Sieve the roasted flour to make sure it is evenly powdered (If you found any small balls just break it with hand and sieve it).

(3) Now add 3/4 cup of ghee to it and mix well. You will get a liquid form of mixture here, which will be in pouring consistency. Keep it aside.


(4) Mean while grease a silver plate/cake pan with ghee and keep it aside. I used bread making pan. Keep it aside. In a non stick pan add sugar and water( level should be just to cover the sugar. Don't add too much of water).

(5) In low to medium flame allow it to boil. Stir well till sugar dissolves completely. Once it dissolves stop stirring. Let it boil and reach one-string consistency ie when you take a drop of sugar between your thumb and fore finger it will form a single string. For more details click here->Sugar Syrup Consistency.

(6) Once you got one-string consistency reduce the flame to low and pour the besan mixture into it. Stir continuously. Add little ghee to it (remaining 1/4 cup) . Mind to stir continuously. Initially it will stick to the pan. Add the remaining ghee little by little and stir. At one stage mixture will move to the sides of the pan and will not stick anymore to the bottom ( I couldn't take that final snap. Just like the final stage of ada pradhaman, but that not much thick). All this will be done within 5 to 7 minutes.

(7) Switch off the flame and pour it to the greased pan. It will settle smoothly. After 5 minutes (with little heat in it) cut it to your desired shape using pizza cutter/knife. I used knife. Allow to cool completely and take out the pieces. Enjooooyyyyy………..

Happy Diwali…..

Tips:

  • Sugar syrup consistency is important. 
  • Mixing besan and sugar syrup is also important. If you proceed further from the correct state mysore pak will turn hard and crispy. Always mix in low flame

Wednesday, August 7, 2013

Ari Unda/Rice Ladu

A sweetie evening snack, ari unda which goes well with tea and also can be enjoyed as a chit-chat snack...

Ingredients:


Matta Rice1 cup
Grated Coconut1/2 cup
Jaggery(powdered)1/2 cup
Cardamom(optional)4 cloves

Preparation:

(1) Wash matta rice in water for multiple times till clear water comes. Drain the water and keep aside. Below picture includes grated coconut and powdered jaggery too.

(2) Heat a pan and add rice to it. Saute till color of rice changes brownish and it starts to breaks(pops up). Saute in low to medium heat to avoid burning. It will take some 15 to 20 minutes. Allow to cool.

(3) Now grind rice and cardamom(i didn't used) in a mixer and make powder. Don't make coarse or very fine powder .

(4) Add powdered jaggery and coconut to the rice powder and grind once again. Grind only for few seconds just to combine them.

(5) Take it in a bowl and make ball shapes using hand. Your ari unda is ready.

Have it with your tea.

Tips:

  • Since we are using fresh coconut, it won't last for more than two days unless refrigerated.
  • Saute rice till it starts breaking and avoid burning.
  • Above quantity yield some 8 to 10 ari unda